Finger-jointed paneling is an affordable and stylish solution for interior design
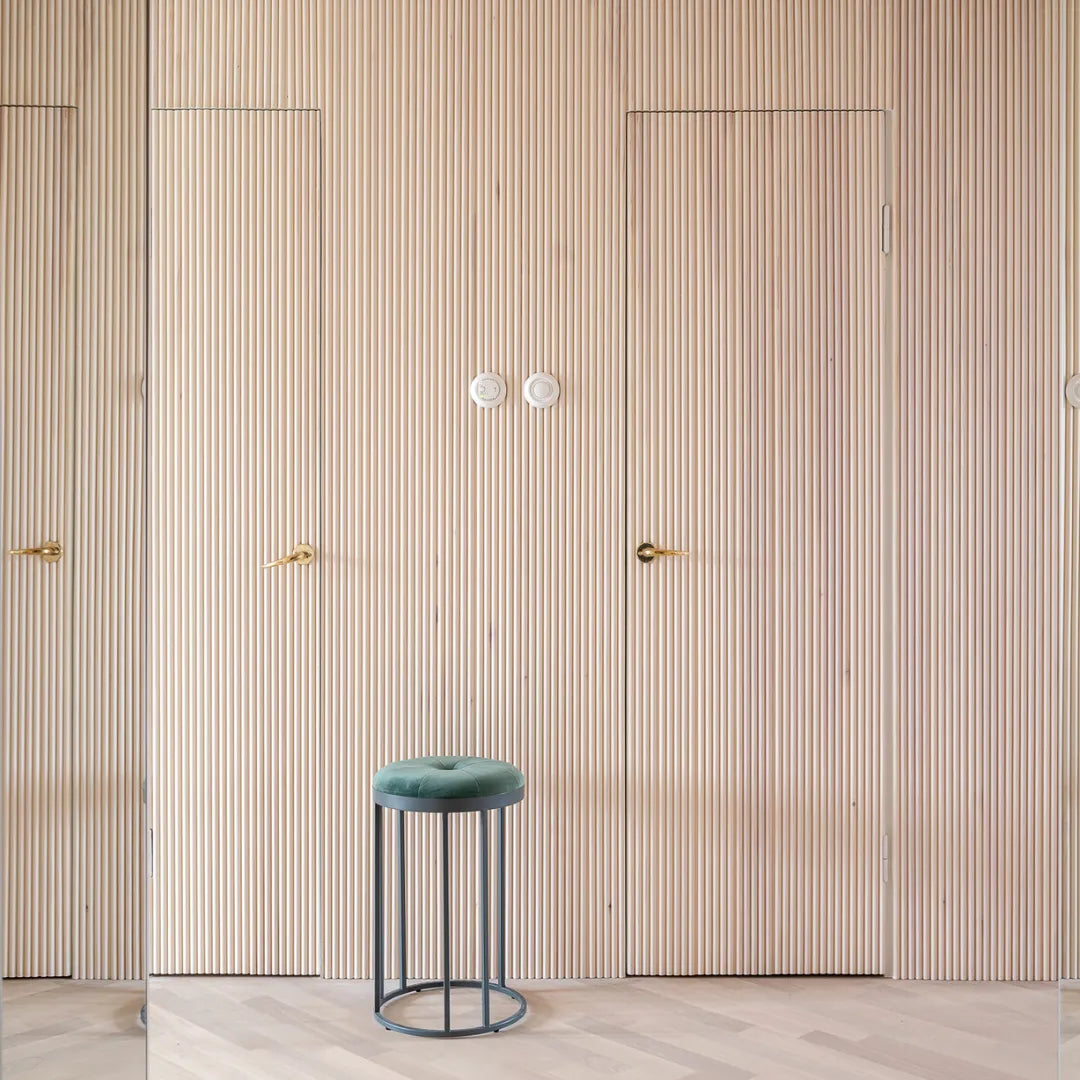
Finger-jointed paneling is a versatile option when you want to bring warmth, naturalness, and durability to your home. Its neat appearance and easy workability make it a popular choice for both new and renovated spaces. The thin finger-jointed panel suits many types of interiors. It can be used on walls, ceilings, feature walls, or even headboards. Finger-jointed panels are durable and timeless.
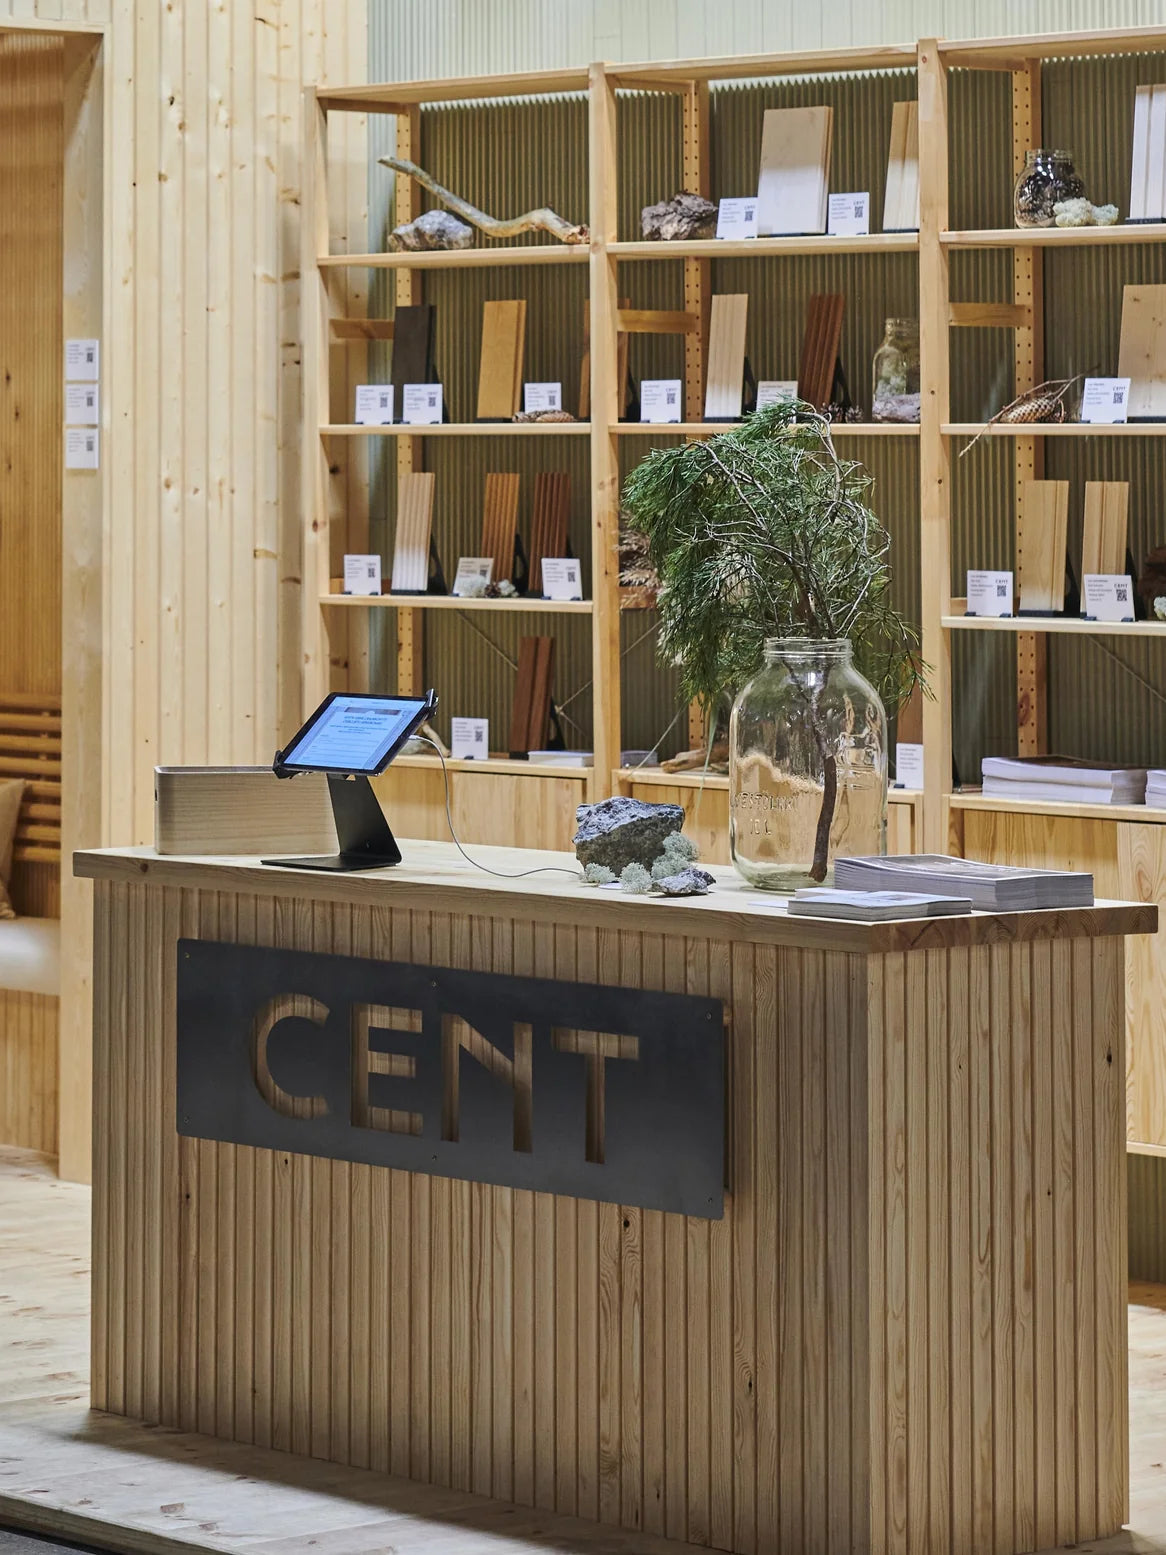
Our customers' experiences also confirm that finger-jointed panels are not only practical but also aesthetically stunning. Feedback and photos show one beautiful implementation after another, where panels have finished headboards, highlighted walls, or brought a modern look to, for example, hallways or kitchens. The versatility of the panels makes them a trusted product for interior designers.
How much finger-jointed paneling is needed?
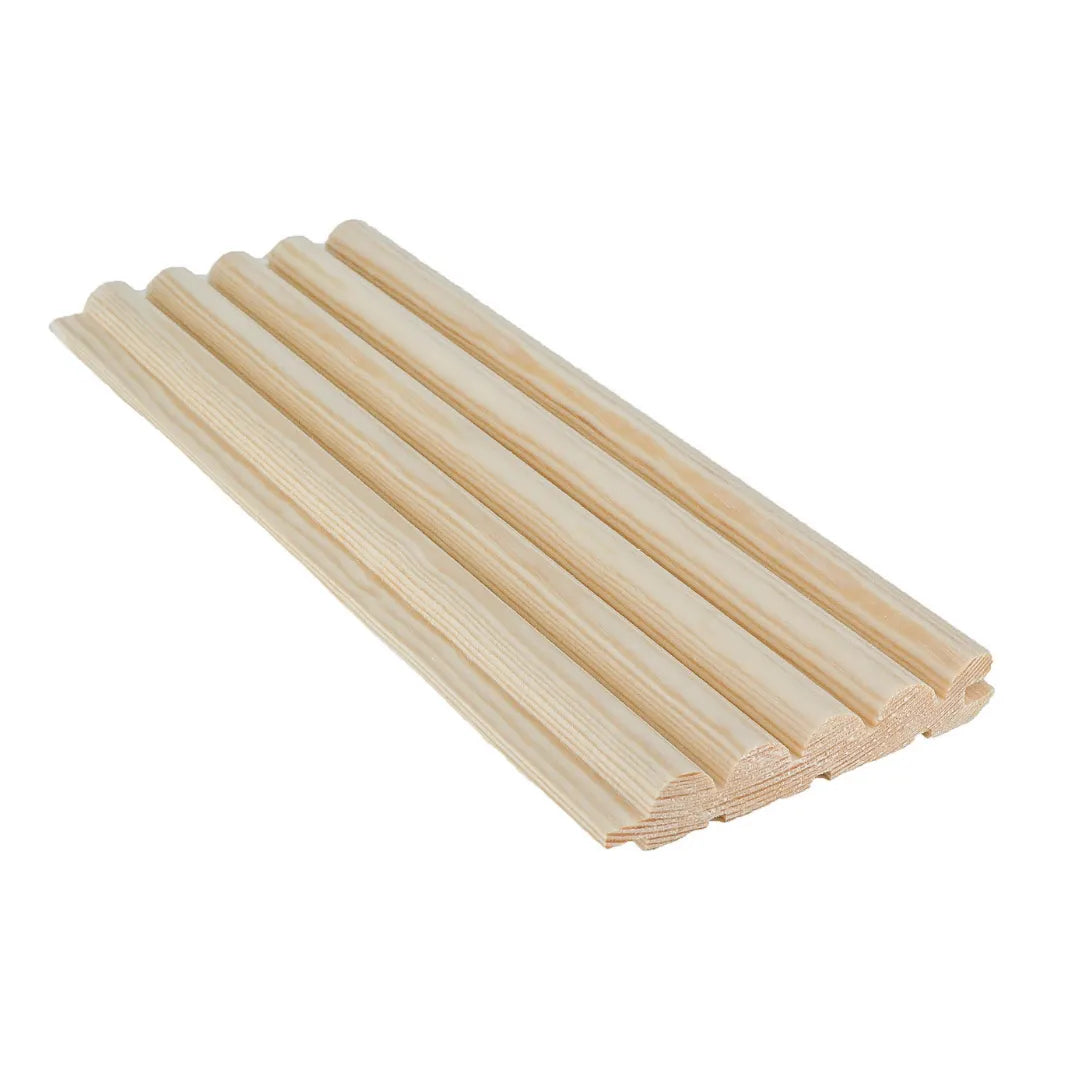
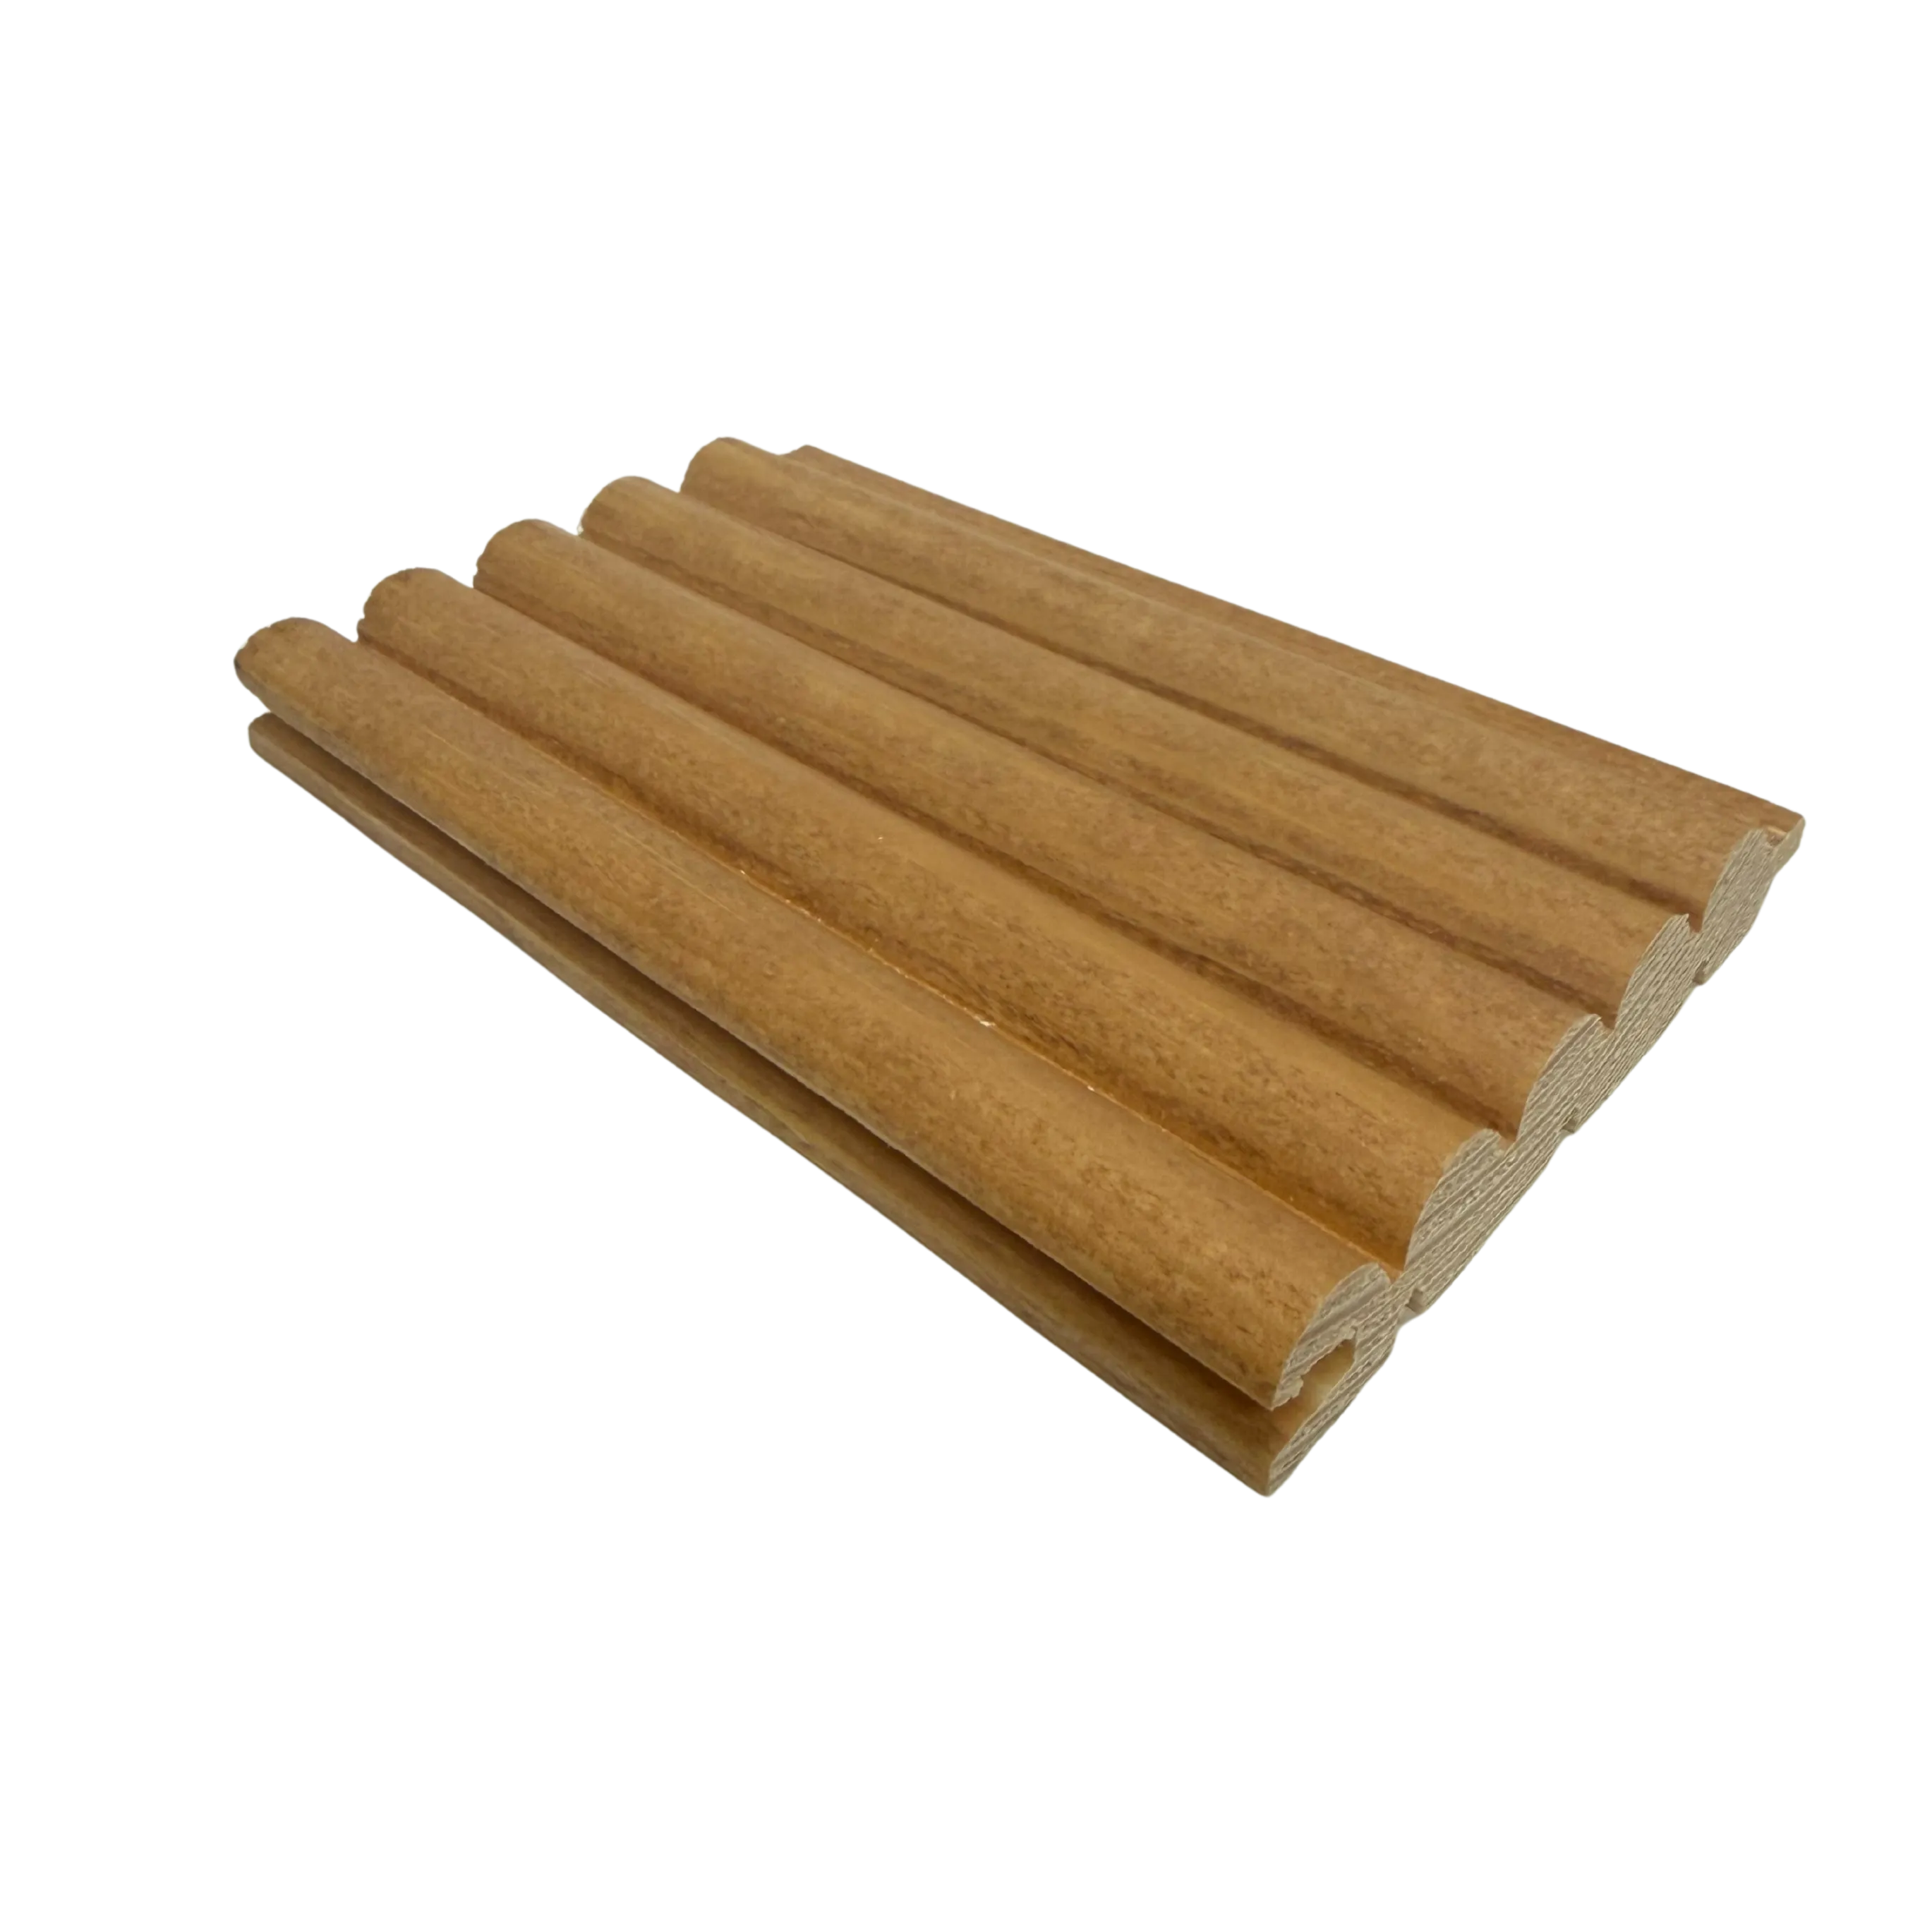
Finger-jointed panels are connected using male and female tongues. This gives the panel a particularly smooth and durable structure. The result is a material that combines the natural look of wood with industrially finished quality. Finger-jointed panels are especially suitable for wall and ceiling cladding, but also for smaller interior design solutions.
When ordering panels, it is important to note that due to the tongue-and-groove structure, the panels overlap slightly. This means that the full width of the panel is not visible, but the so-called effective width of the panel is used. The effective width is always indicated in the product information and specifies the exact measurement of the panel visible when installed.
For example, if you want to build a 180 cm wide headboard, it's worth first considering whether the panel will be installed vertically or horizontally. If the panels are installed vertically, divide 1800 mm by the panel's effective width (e.g., 85 mm) to find out the number of panels needed. If the calculation is done using the full width (e.g., 95 mm), the result might be insufficient, as overlapping reduces the visible measurement.
Practical tip: we recommend always ordering about 10% more paneling than the actual calculated need requires. This so-called waste allowance ensures that there is enough material during installation for possible measurement errors, cuts, and fittings.