
Interior panels, accent panels, wall panels, and ceiling panels beautifully and durably finish your space. Panels improve acoustics and create a pleasant appearance in the room. Check out our easy basic paneling instructions:
Installing panels is actually quite simple and with a little practice, anyone can succeed. Before starting the work, check whether paneling is allowed. In a detached house, paneling can be done without restrictions, but it is not advisable to panel fire-rated spaces such as garages. In uncertain situations, contact the housing company/municipal building supervision.
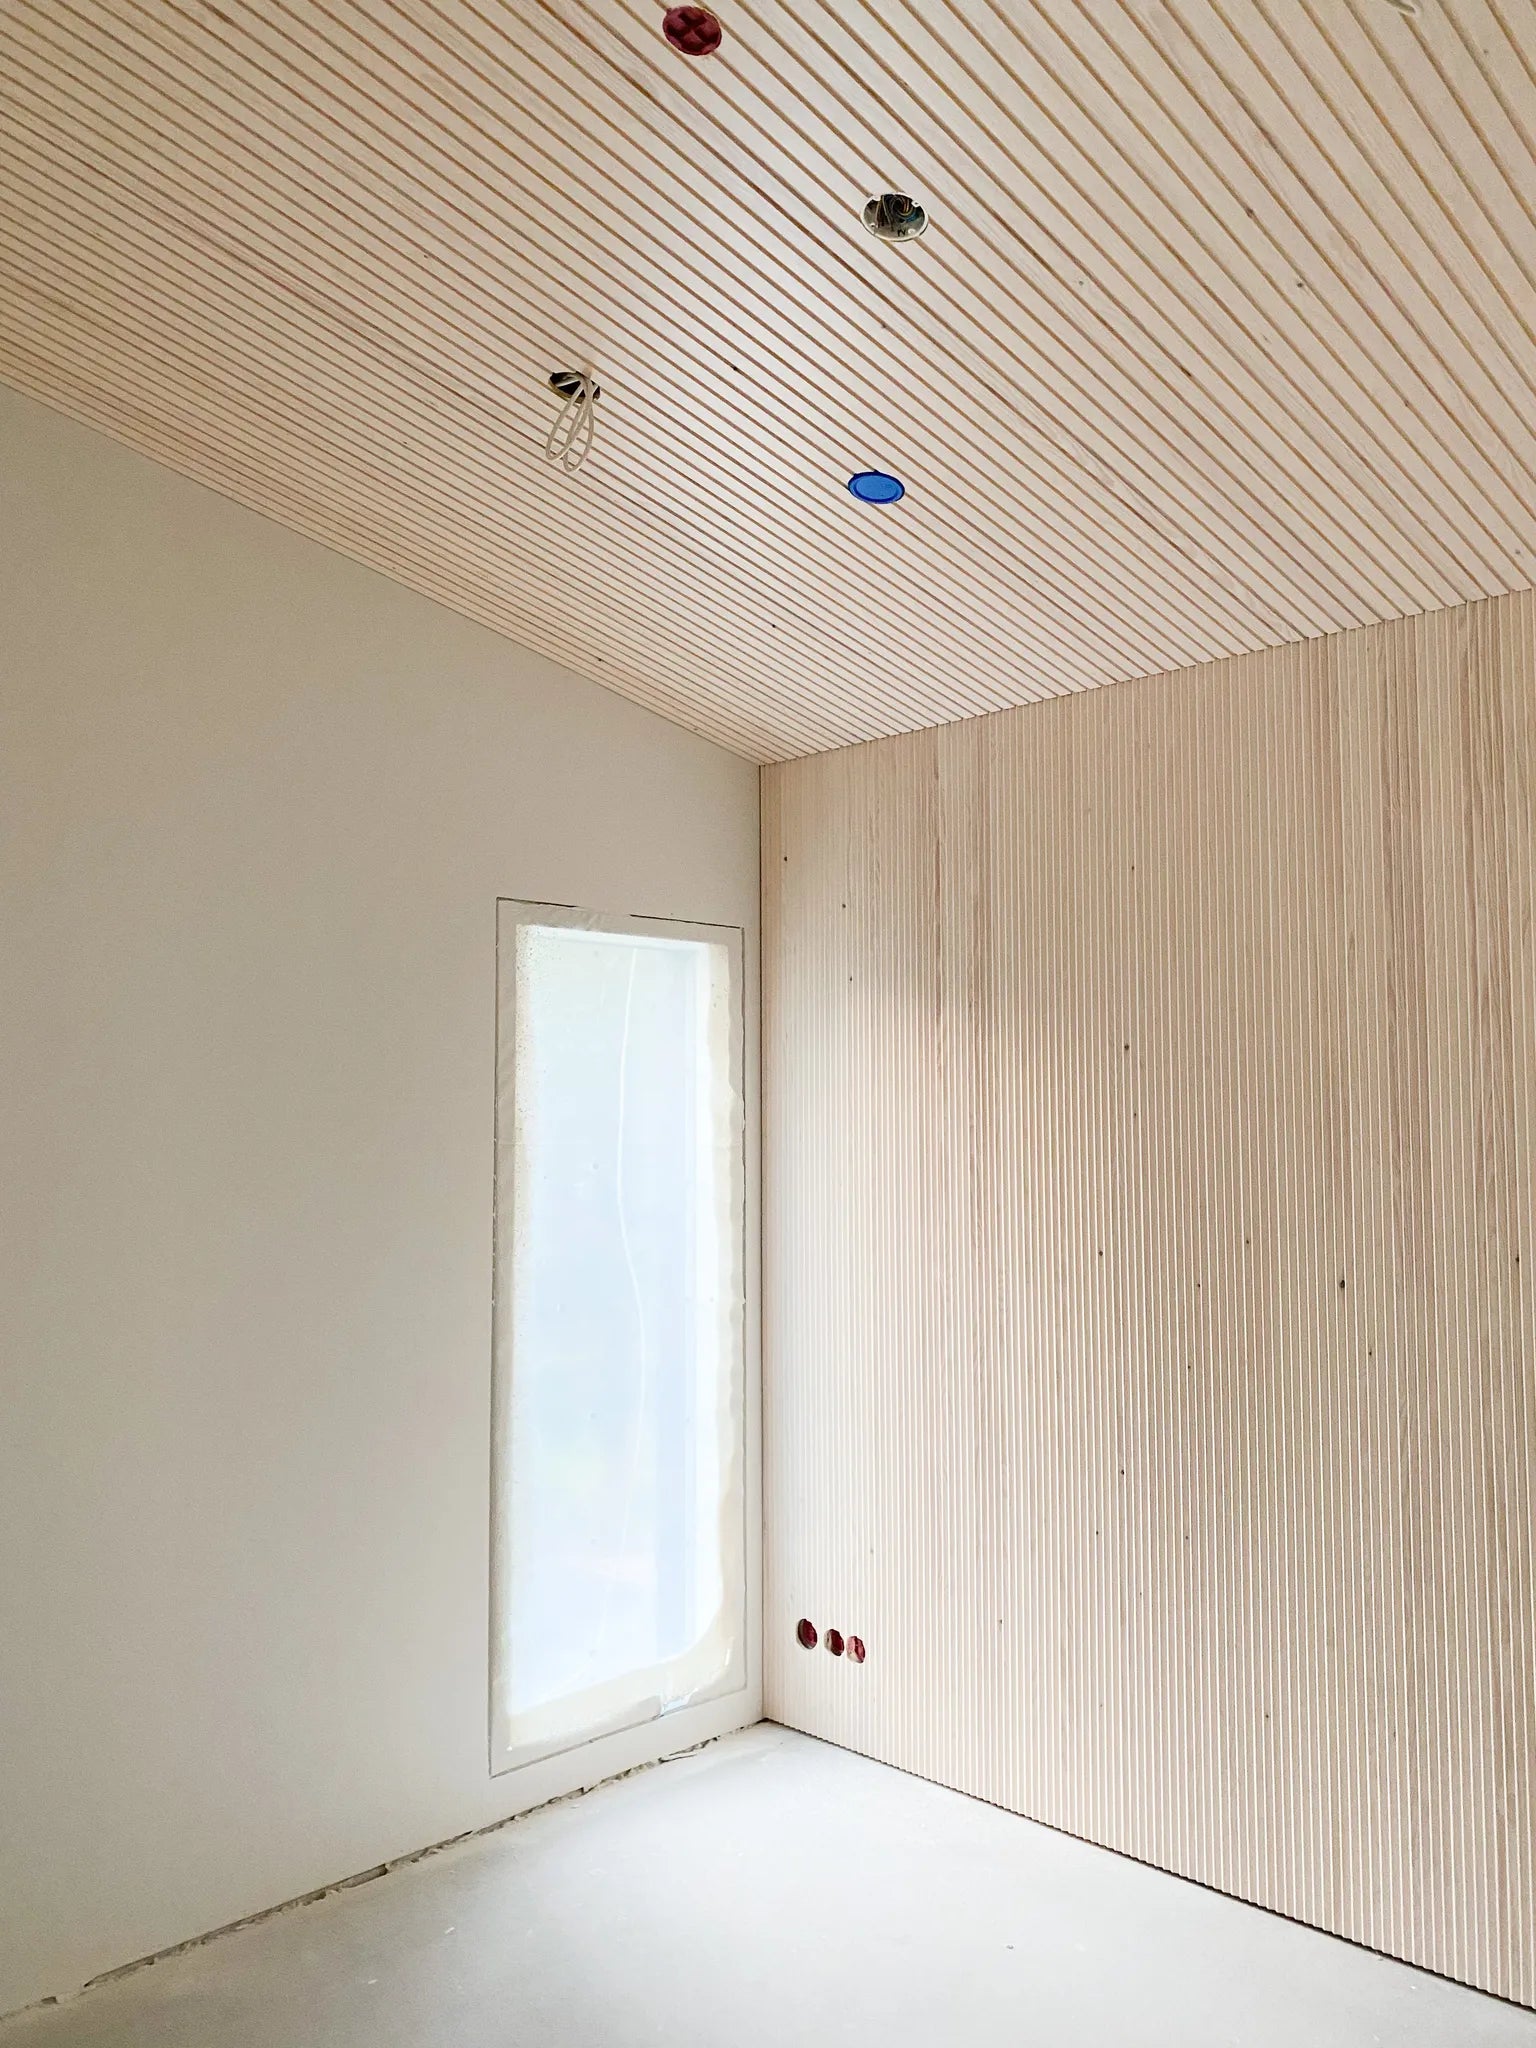
From design to execution. Vertical paneling emphasizes the height of the room, while horizontal paneling emphasizes the width. Half-paneling adds airiness and a new personal touch to the room. Half-paneling is a popular way to create, for example, headboards. Especially when paneling the ceiling, it is worth considering how light falls from the windows. Usually, panels are installed perpendicular to the window.

Wall and ceiling panels installed perpendicular to the window, allowing light to fall along the direction of the panels.

With half-paneling, you create striking effects.
Before installation
Panels should be stored in a dry place protected from rain and sunlight. It is good to make cuts at the ends of the packages and allow the panels to acclimate for a few days according to the installation environment. The room temperature and humidity at the installation site should be normal (temperature 20°C and humidity below 50%).
Wood panels can be installed on all kinds of substrates. The fastening method is chosen according to the substrate. Using battens (framing) is the most common way to attach panels. The battens are usually installed on the wall with 600 mm spacing and on the ceiling with 400 mm spacing. When installing on concrete or stone walls, strong mounting adhesive can also be used. Depending on the installation method, the panels must be securely and safely attached to the wall or ceiling.

Depending on the direction of the paneling, the base battens are attached vertically or horizontally.
Installation
When using battens, the easiest and fastest installation method is to use a finishing nailer. Nails are shot one or two at each base strip. In damp areas, galvanized nails are used. If the female side's lower lip is longer, the panel can be easily nailed hidden. It is also possible to fasten from the male side hidden, but this requires a bit more precision. During installation, leave a 15 mm expansion gap between the panel and the wall. Large and heavy panels, such as log panels must be nailed carefully and securely.

The easiest and fastest installation method is to use a finishing nailer.

Other considerations
- A slight chamfer is allowed on the back of the panel, which does not affect fastening.
- Lights or other heavy objects must not be attached directly to the panel.
- Finish with suitable floor, cover, or ceiling moldings. Explore our molding selection here link.
- Install large surfaces from the same production batch.
- Treat wood-ready panels before installation.
Check out our updated paneling instructions here link!

Wooden interiors combine earthiness, environmental friendliness, and a warm, cozy atmosphere.

The wavy, sand dune-like Dyyni interior panel is named after the sandy dunes of Kalajoki's sandbars, the hometown of our factory.
Watch and explore as Janne Kaperi from Biisonimafia together with Taloon.com install finger panels on the wall as an accent!
Source and more instructions: Puuinfo